

Introduction
Have you ever wondered what to do when facing danger in the wilderness? As an outdoor enthusiast who often hikes alone, I deeply understand the importance of mastering basic survival skills. Once, I got lost in a remote mountainous area in Sichuan, with no cell phone signal and only basic equipment. If I hadn't learned these skills beforehand, I might not have made it back safely. Today, I want to share some practical wilderness survival skills that have been tested through real experience.
That experience taught me that wilderness survival isn't as dramatic as shown in movies, but requires calmness and wisdom. During that incident, I used my compass to determine the general direction and found my way down the mountain by following streams and terrain features, eventually returning safely before dark. This experience gave me a deeper understanding of wilderness survival and motivated me to systematically learn more survival skills.
Mindset is Most Important
When facing danger in the wilderness, what matters most isn't how much equipment you have, but your mindset. I remember feeling quite anxious the first time I got lost in the wilderness. But I told myself: panic won't solve problems, only calmness can help us make the right decisions.
According to U.S. search and rescue statistics, over 75% of wilderness accident victims suffer more serious consequences due to panic-induced poor judgment. Some people run blindly out of fear, ending up further from safety zones; others forget basic survival knowledge due to panic and make wrong decisions. So staying calm is really crucial. Did you know that just taking a few deep breaths can lower your heart rate by 20% and help your brain think more clearly?
When facing dangerous situations in the wilderness, I recommend using the "STOP" principle: Stop, Think, Observe, Plan. This method has played an important role in many of my outdoor activities. First stop, don't act blindly; then calmly think about your current situation; carefully observe the surrounding environment and look for available resources; finally make a feasible plan.
I remember last summer when I encountered a sudden downpour in the mountains. I was on a relatively steep slope surrounded by wet, loose rocks. If I had panicked and continued forward, it could have been dangerous. I immediately stopped, found a relatively safe position, and waited for the rain to ease. During the wait, I observed the surrounding terrain and found a small cave nearby where I could temporarily take shelter. This decision helped me safely weather that storm.
Maintaining a positive and optimistic mindset is also important. Believing that you can overcome difficulties can give you endless strength. I once met a climber who had survived in the wilderness, and he told me it was this positive mindset that supported him for three days in the wild until the rescue team arrived.
Basic Equipment
When it comes to survival equipment, many people's first reaction is to prepare lots of high-tech products. Actually, the most useful things are often quite ordinary.
Multi-purpose tape is a miracle tool. I've used it to repair torn tents, make temporary drinking cups, and even treat blisters. Statistics show that over 60% of equipment failures in wilderness survival situations can be temporarily fixed with multi-purpose tape. This tape is lightweight, compact, but widely useful. I often keep several small rolls of tape in different places in my backpack for emergencies.
Besides multi-purpose tape, a good multi-tool knife is also essential. It can be used to cut rope, make wooden sticks, process food, etc. When choosing a knife, pay attention to the blade material and hardness - stainless steel is best as it's both durable and rust-resistant. My multi-tool knife has accompanied me to many places and helped solve countless problems.
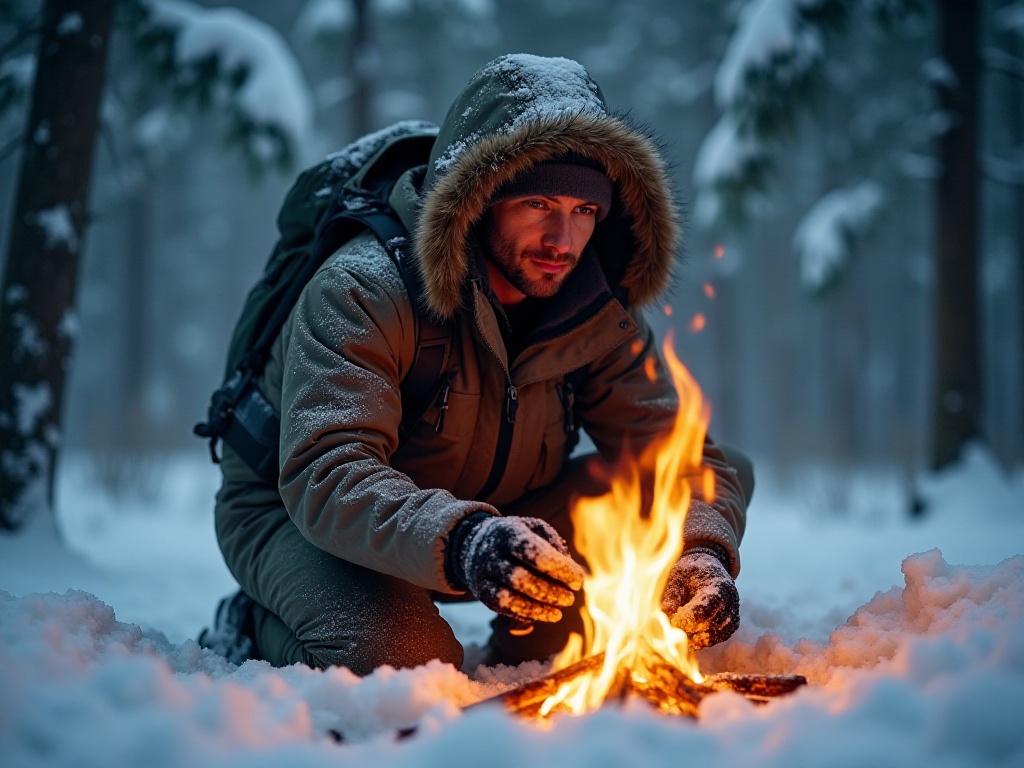
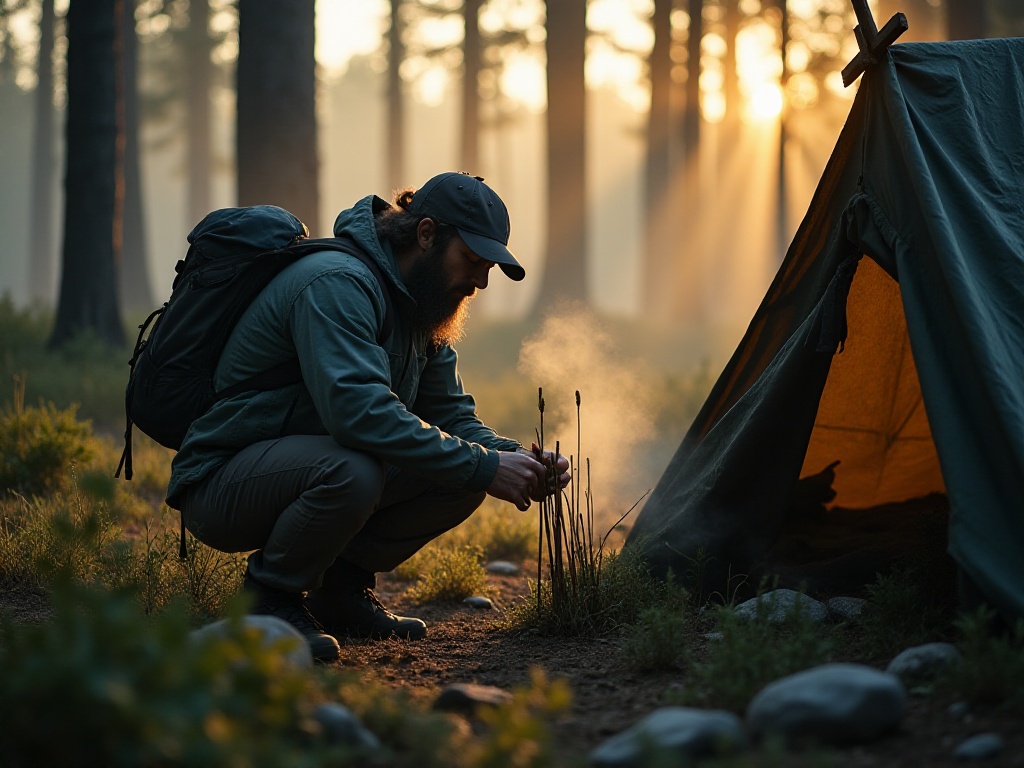
Lighters or waterproof matches are also important survival equipment items. In cold environments, a reliable fire source could be key to survival. I usually prepare multiple backup fire sources, including lighters, waterproof matches, and magnesium fire starters. Interestingly, many common snacks can also be used to start fires. For example, Doritos chips can be used as fire starters because they contain lots of oil and burn longer than ordinary wood. I tried this once while camping - one bag of chips can burn continuously for nearly 8 minutes.
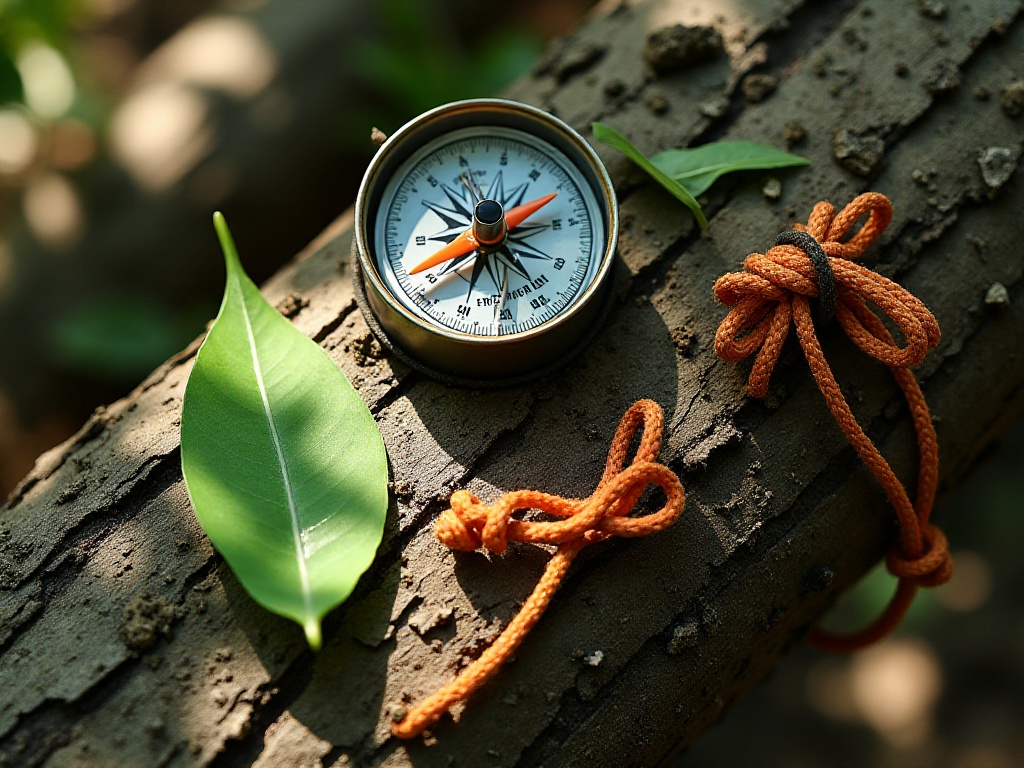
A compass is another indispensable tool. Although many people now rely on phone GPS, electronic devices can fail in the wilderness for various reasons. A reliable compass and map combination is the most trustworthy navigation tool. I suggest learning basic map reading and compass use skills - these skills might come in handy at crucial moments.
A portable first aid kit is also essential. It doesn't need to be big but should contain basic medical supplies like bandages, gauze, and antiseptic. I also keep some common medications in my first aid kit, like pain relievers, cold medicine, and anti-diarrheal medication. Once, when a companion accidentally got scratched by a tree branch, it was this small first aid kit that allowed us to treat the wound promptly and prevent infection.
Headlamps or flashlights are also important equipment. I recommend LED headlamps as they free up both hands. When choosing a headlamp, pay attention to water resistance - preferably IPX4 or above. Also, remember to bring spare batteries. In darkness, a reliable light source could be your lifeline.
Rope is another widely useful piece of equipment. A good climbing rope can not only ensure safety but also be used to build temporary shelters and make simple tools. I usually carry at least a 15-meter long climbing rope, along with some thinner auxiliary cords. These ropes have come in handy in many situations, like setting up tents, drying clothes, and securing equipment.
Finding Water Sources
In the wilderness, water is more important than food. People can survive a week without food but only three days without water at most. Finding safe water sources becomes one of the most critical issues in wilderness survival.
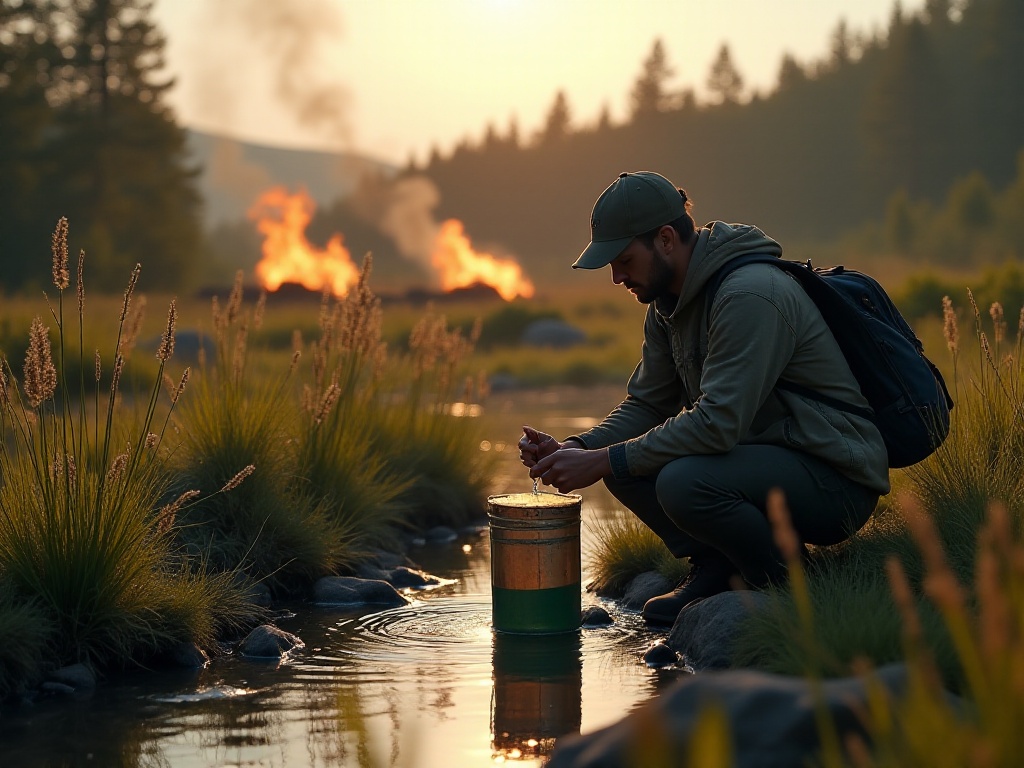
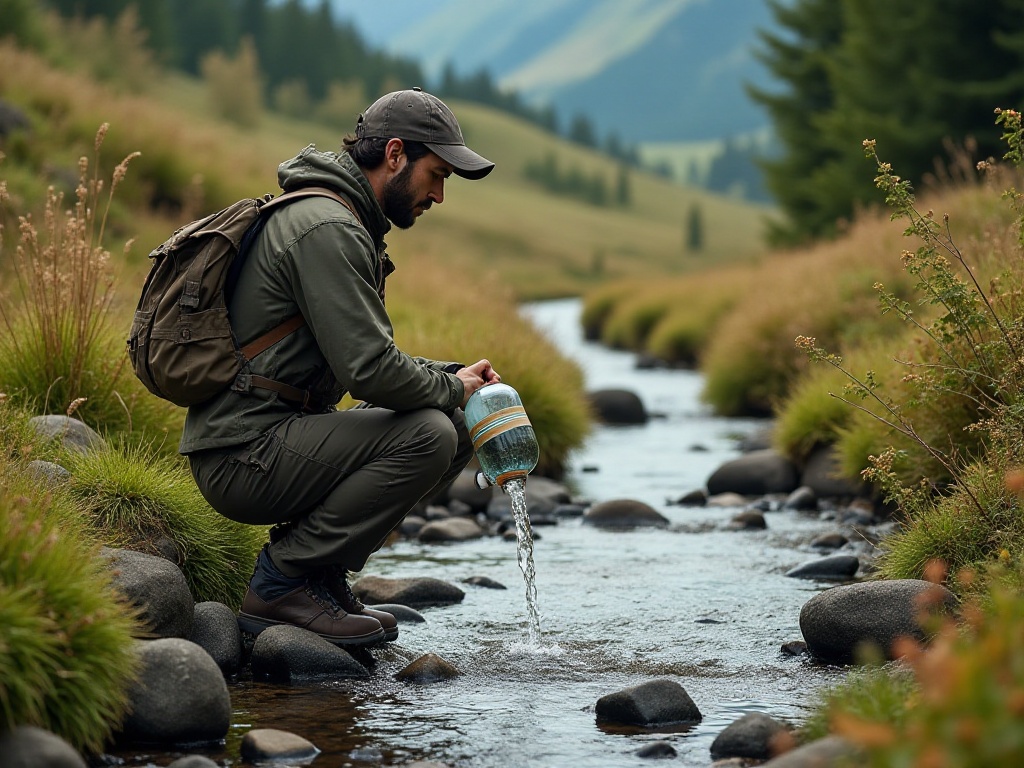
First, flowing water sources are safer than still water. Mountain streams are usually good choices, but remember to purify before drinking. I personally recommend carrying portable water filter straws, which can filter out 99.9% of harmful bacteria. These water purification tools are lightweight, convenient to use, and can be reused many times.
When obvious water sources can't be found, observe terrain features. Valleys and ravines are often places where water sources are easier to find. Especially in valley lowlands, where groundwater levels are higher, it's easier to find water sources. Once during a hike, I found precious drinking water by observing the terrain and digging a small water hole in a valley depression.
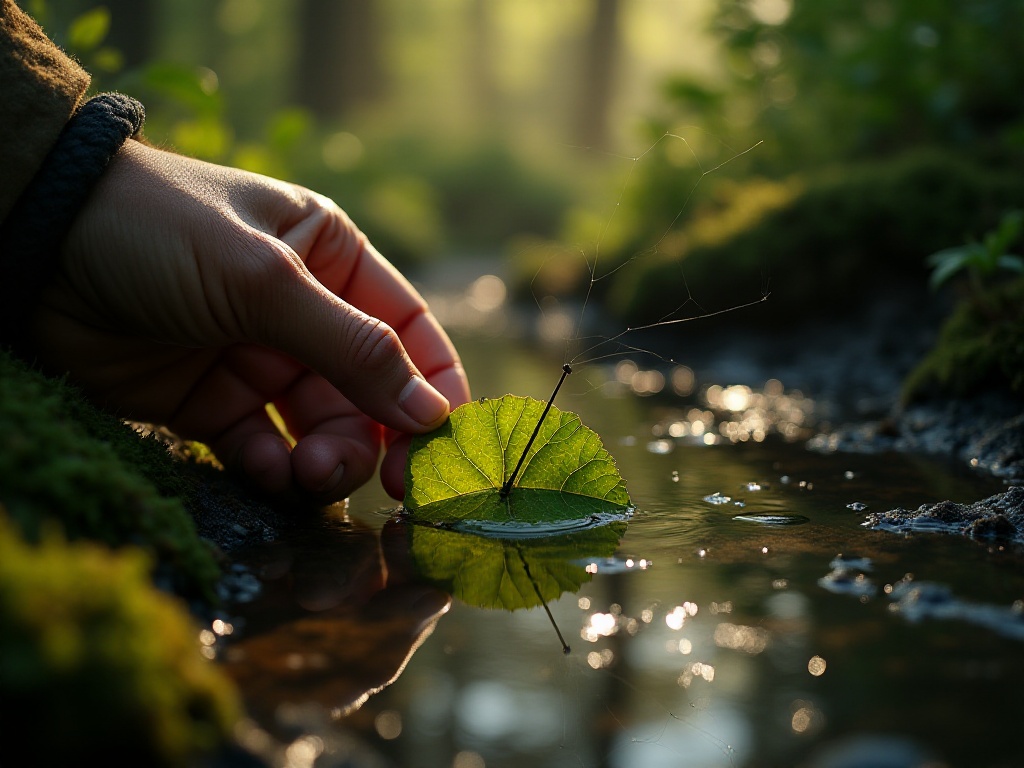
Observing plants is also a good method for finding water sources. Some plants, like reeds and cattails, usually grow where there are water sources. Additionally, morning dew on large-leaved plants can also be collected as a water source. I would put plastic bags over branches with dew, collecting quite a bit of clean drinking water this way.
A practical tip is to observe animal activity trails. Wild animals usually go to water sources to drink in early morning and dusk - following their tracks might lead you to water sources. Bees and birds are also good indicators, as they usually don't stray far from water sources. Once, I found a hidden mountain spring by observing a group of birds' activities.
If surface water sources really can't be found, try using simple tools to collect moisture. For example, you can make a simple solar still to collect moisture from soil. The specific method is: dig a shallow pit, put in water-containing plants or wet soil, cover with plastic sheeting, and place a collection container in the middle. Sunlight will cause water to evaporate, condense on the plastic, and eventually drip into the container. I've practiced this method in desert regions - although not highly efficient, it's a viable option when water is scarce.
After finding water sources, purification treatment is very important. The simplest method is to boil the water, which kills most harmful microorganisms. If there's no container for boiling, filtering methods can be used. Make simple filters using clothing or other available materials to remove large particle impurities. I usually layer several pieces of fabric together, add some fine sand and charcoal, to make a simple filtration system.
In extreme situations, if clean water sources really can't be found, consider collecting plant juices. Some plants, like bamboo and vines, contain drinkable juice. But note, you must ensure these plants are non-toxic before using them. I suggest learning about edible plants during normal times, so this knowledge can be useful when needed.

Shelter Construction
Finding or building a shelter before dark is crucial. According to meteorological data, nighttime temperatures average 10-15 degrees lower than daytime. Without proper shelter, heat loss can put you in danger. Especially in wet or cold environments, a suitable shelter might be key to survival.
Building shelter starts with choosing an appropriate location. I've summarized several important site selection principles: first, stay away from dead trees that might fall in strong winds; second, avoid valley bottoms where water can accumulate and temperatures are lower at night; finally, choose wind-sheltered locations to reduce heat loss. Slightly elevated flat ground compared to surroundings is an ideal choice.
When selecting a site, also consider terrain features. If you can find natural shelters like caves or spaces under large trees, you can save lots of construction time and energy. In my experience, utilizing existing terrain like rock faces or large trees can save 50% of construction time. But be sure to check these natural shelters' safety, ensuring there are no dangerous animals or unstable structures.
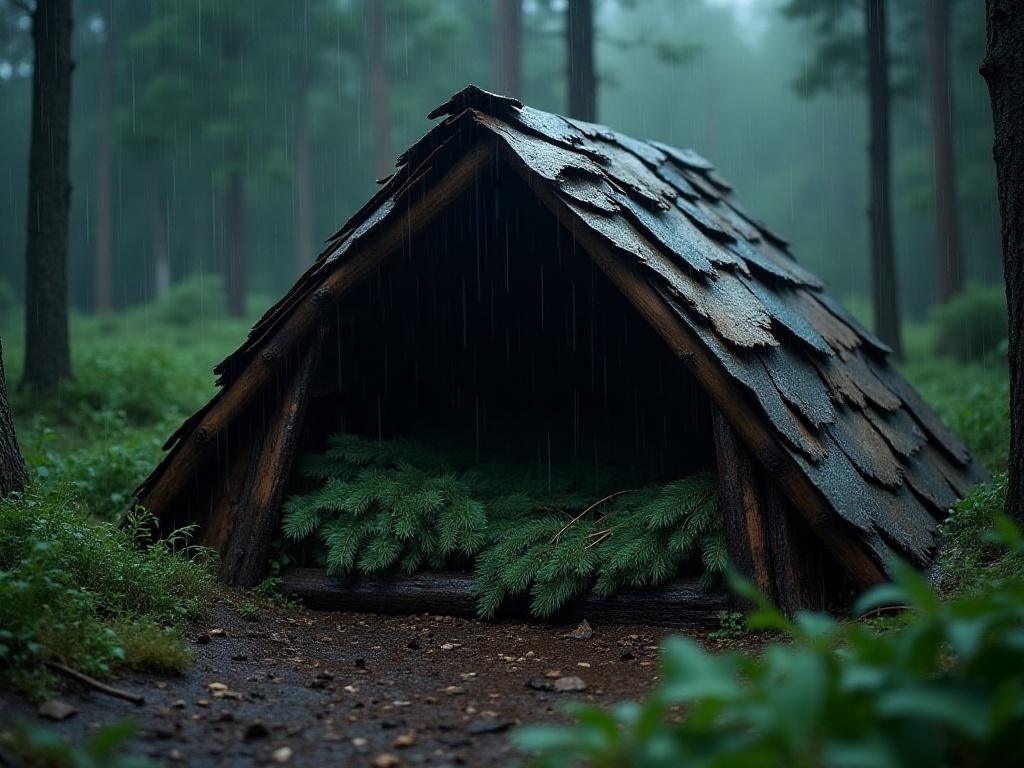
Materials for building temporary shelters mainly come from the surrounding environment. Large branches can be used to build the framework, small branches and leaves for covering. A simple structure I often use is the "A-frame" shelter: use two thick branches to form an "A" shape support, then use a long branch as a ridge pole, followed by smaller branches leaning on both sides, finally covered with leaves and turf. This structure is simple but effective, providing good protection against wind and rain.
Ground treatment is also important. Sleeping directly on the ground causes significant body heat loss. I first lay a layer of dry branches as foundation, then add dry grass or pine needles as insulation. A moisture-proof pad is best, but if unavailable, dry grass or leaves can substitute. Once while camping, I made a "mattress" nearly 20 centimeters thick with pine needles - the effect was surprisingly good.
Shelter orientation needs consideration too. In the Northern Hemisphere, the opening is best faced southeast to get more sunlight warmth while avoiding prevailing winds. If there's a water source nearby, the shelter should be built slightly higher than the water source for convenient access while avoiding flood risks.
To increase warmth, you can build a fire in front of the shelter. Keep the fire at a safe distance, usually 3-4 meters is appropriate. I place large stones between the fire and shelter - these stones absorb heat and release it at night, acting as heat storage.
If conditions allow, it's best to dig a small drainage ditch around the shelter. This way, even if it rains, water won't flow into the shelter. The ditch doesn't need to be deep, 15-20 centimeters is enough, but ensure sufficient slope for water drainage.
During construction, be mindful of conserving energy - don't pursue overly complex structures. Remember, the shelter's main functions are wind and rain protection and heat retention; meeting these basic requirements is sufficient. I've seen many people spend too much time and energy pursuing perfect shelter construction, which ends up being counterproductive.
Distress Signals
If rescue is needed, sending correct distress signals is crucial. The international distress signal is any form of three sounds, like three whistle blasts or three bonfires. This signal is recognized by search and rescue personnel worldwide, so mastering this basic principle is very important.
Sound signals are one of the most basic rescue methods. If you have a whistle, blow it three times every minute, keeping intervals consistent. Without a whistle, you can use other methods to make sound, like hitting metal objects or shouting. I always carry a survival whistle - its sound can travel far, and unlike shouting, doesn't consume much energy.
Visual signals are equally important. In open areas, three bonfires arranged in a triangle is an internationally recognized distress signal. During daytime, you can spell out "SOS" on the ground using branches, stones, or other materials. Note that these marks should be large enough and made in obvious clearings to be easily spotted by aerial search and rescue personnel.
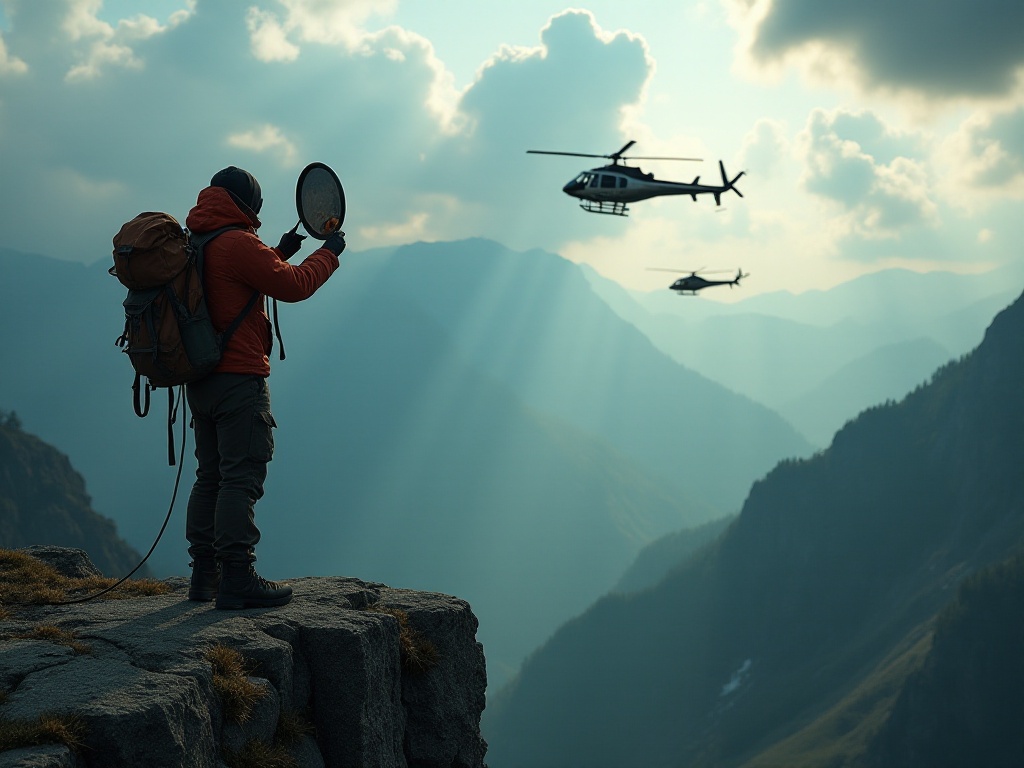
A clever method is using mirrors to send distress signals. On sunny days, a small mirror's reflection signal can travel up to 10 kilometers. According to search and rescue statistics, mirror reflection signals have an 85% detection probability in good visibility conditions. When using mirrors for signaling, aim at directions where people or aircraft might pass. If no mirror is available, try any reflective items like watch faces or metal water bottles.
When conditions allow, making conspicuous markers is also a good choice. Bright clothing or other colorful items can be used to make markers. I usually carry a suitably sized orange waterproof sheet - this color is very conspicuous in natural environments and easily spotted.
If you hear or see rescue personnel but they haven't spotted you, pay special attention to signaling. Use a whistle to make continuous short sounds or quickly move reflective objects. Remember, any unnatural sounds or movements might catch rescuers' attention.
While waiting for rescue, staying put is important. Many people instinctively wander around after getting lost, which actually increases search difficulty. Unless the current location is particularly dangerous, it's best to stay put and wait for rescue. Use this time to collect usable materials and make more distress signals.
If you have a phone, keep it on even without signal. Rescue personnel might locate you through phone signals. Meanwhile, conserve battery power - set it to airplane mode and only check periodically. My experience is to check once every hour for signals.
While waiting for rescue, reasonably distribute energy - don't make overly exhausting movements out of anxiety. Maintaining energy and body temperature helps you last longer. You can keep warm through simple activities like moderate exercise or collecting firewood.
Experience Summary
All these skills might seem simple, but they could save your life at crucial moments. I suggest practicing these skills in safe environments first, like trying fire starting in your backyard or direction finding in parks. This way, when you really need to use them, you'll be proficient.
Practice is the best teacher. I often do wilderness survival training with friends, simulating various possible situations. For example, we deliberately leave certain equipment behind to see how to solve problems with other methods. This training not only improves practical ability but also develops team cooperation spirit.
Equipment is important, but more important is knowing how to use available resources. Often, nature has provided everything needed for survival - the key is learning to recognize and utilize it. For instance, knowing which plants are edible and which can be used to make tools - this knowledge can all come in handy at crucial moments.
Remember, the best survival strategy is actually prevention. Before each trip, tell friends and family your itinerary plans, bring basic survival equipment, understand local terrain and weather conditions. According to outdoor rescue statistics, 90% of accidents can be avoided through thorough preparation.
Making detailed itinerary plans is also important. Include expected routes, time arrangements, supply points, etc. Also study maps, understand possible retreat routes and safety points. I usually carefully study maps before departure, marking important landmarks and possible danger zones.
Regularly update and maintain your survival equipment. Periodically check battery and medicine expiration dates, ensure all equipment is usable. I check equipment after each trip, promptly replenishing or replacing consumed items.
Finally, maintain a humble and learning attitude. Outdoor environments are ever-changing, each experience is a learning opportunity. I often exchange experiences with other outdoor enthusiasts, learning new skills and knowledge. This continuous learning attitude helps me calmly handle various unexpected situations.
Which of these skills do you think is most practical? Welcome to share your outdoor experiences and unique survival tips in the comments. Next time we can discuss more interesting topics about wilderness exploration.